- - - - - - - - - - - - - - - - - - -
by Jesper Høj Weidick / Helle Testing Team / @WeidickOutside
- - - - - - - - - - - - - - - - - - -
As an outdoor enthusiast, an outdoor store manager and a wilderness skills instructor, a knife is an invaluable tool in my everyday life. I like to EDC (Everyday Carry) a smaller pocketknife like the Helle Nipa, or a SAK (Swiss Army Knife).
My pocketknife is probably my most used knife, as it is always with me – cutting boxes, carving wood, smearing butter on toast, etc. This also makes it the knife I must maintain the most.
The Helle Sharpening Stones
The Helle sharpening stones come in two sizes: Small (115 x 30 x 15 mm) and Large (200 x 50 x 25 mm). Both come in practical handmade leather sheaths for safe storage.
The double-sided stones feature a 320/ 500 grit on the small, and 320/ 1000 grit on the large. This enables you to do both coarse and fine tasks on either stone. The finer the grit, the finer the finish - and thus the sharper the knife.
Sharpening 101
Keeping a keen edge on your blades is of the utmost importance – a sharp blade is a safe blade.

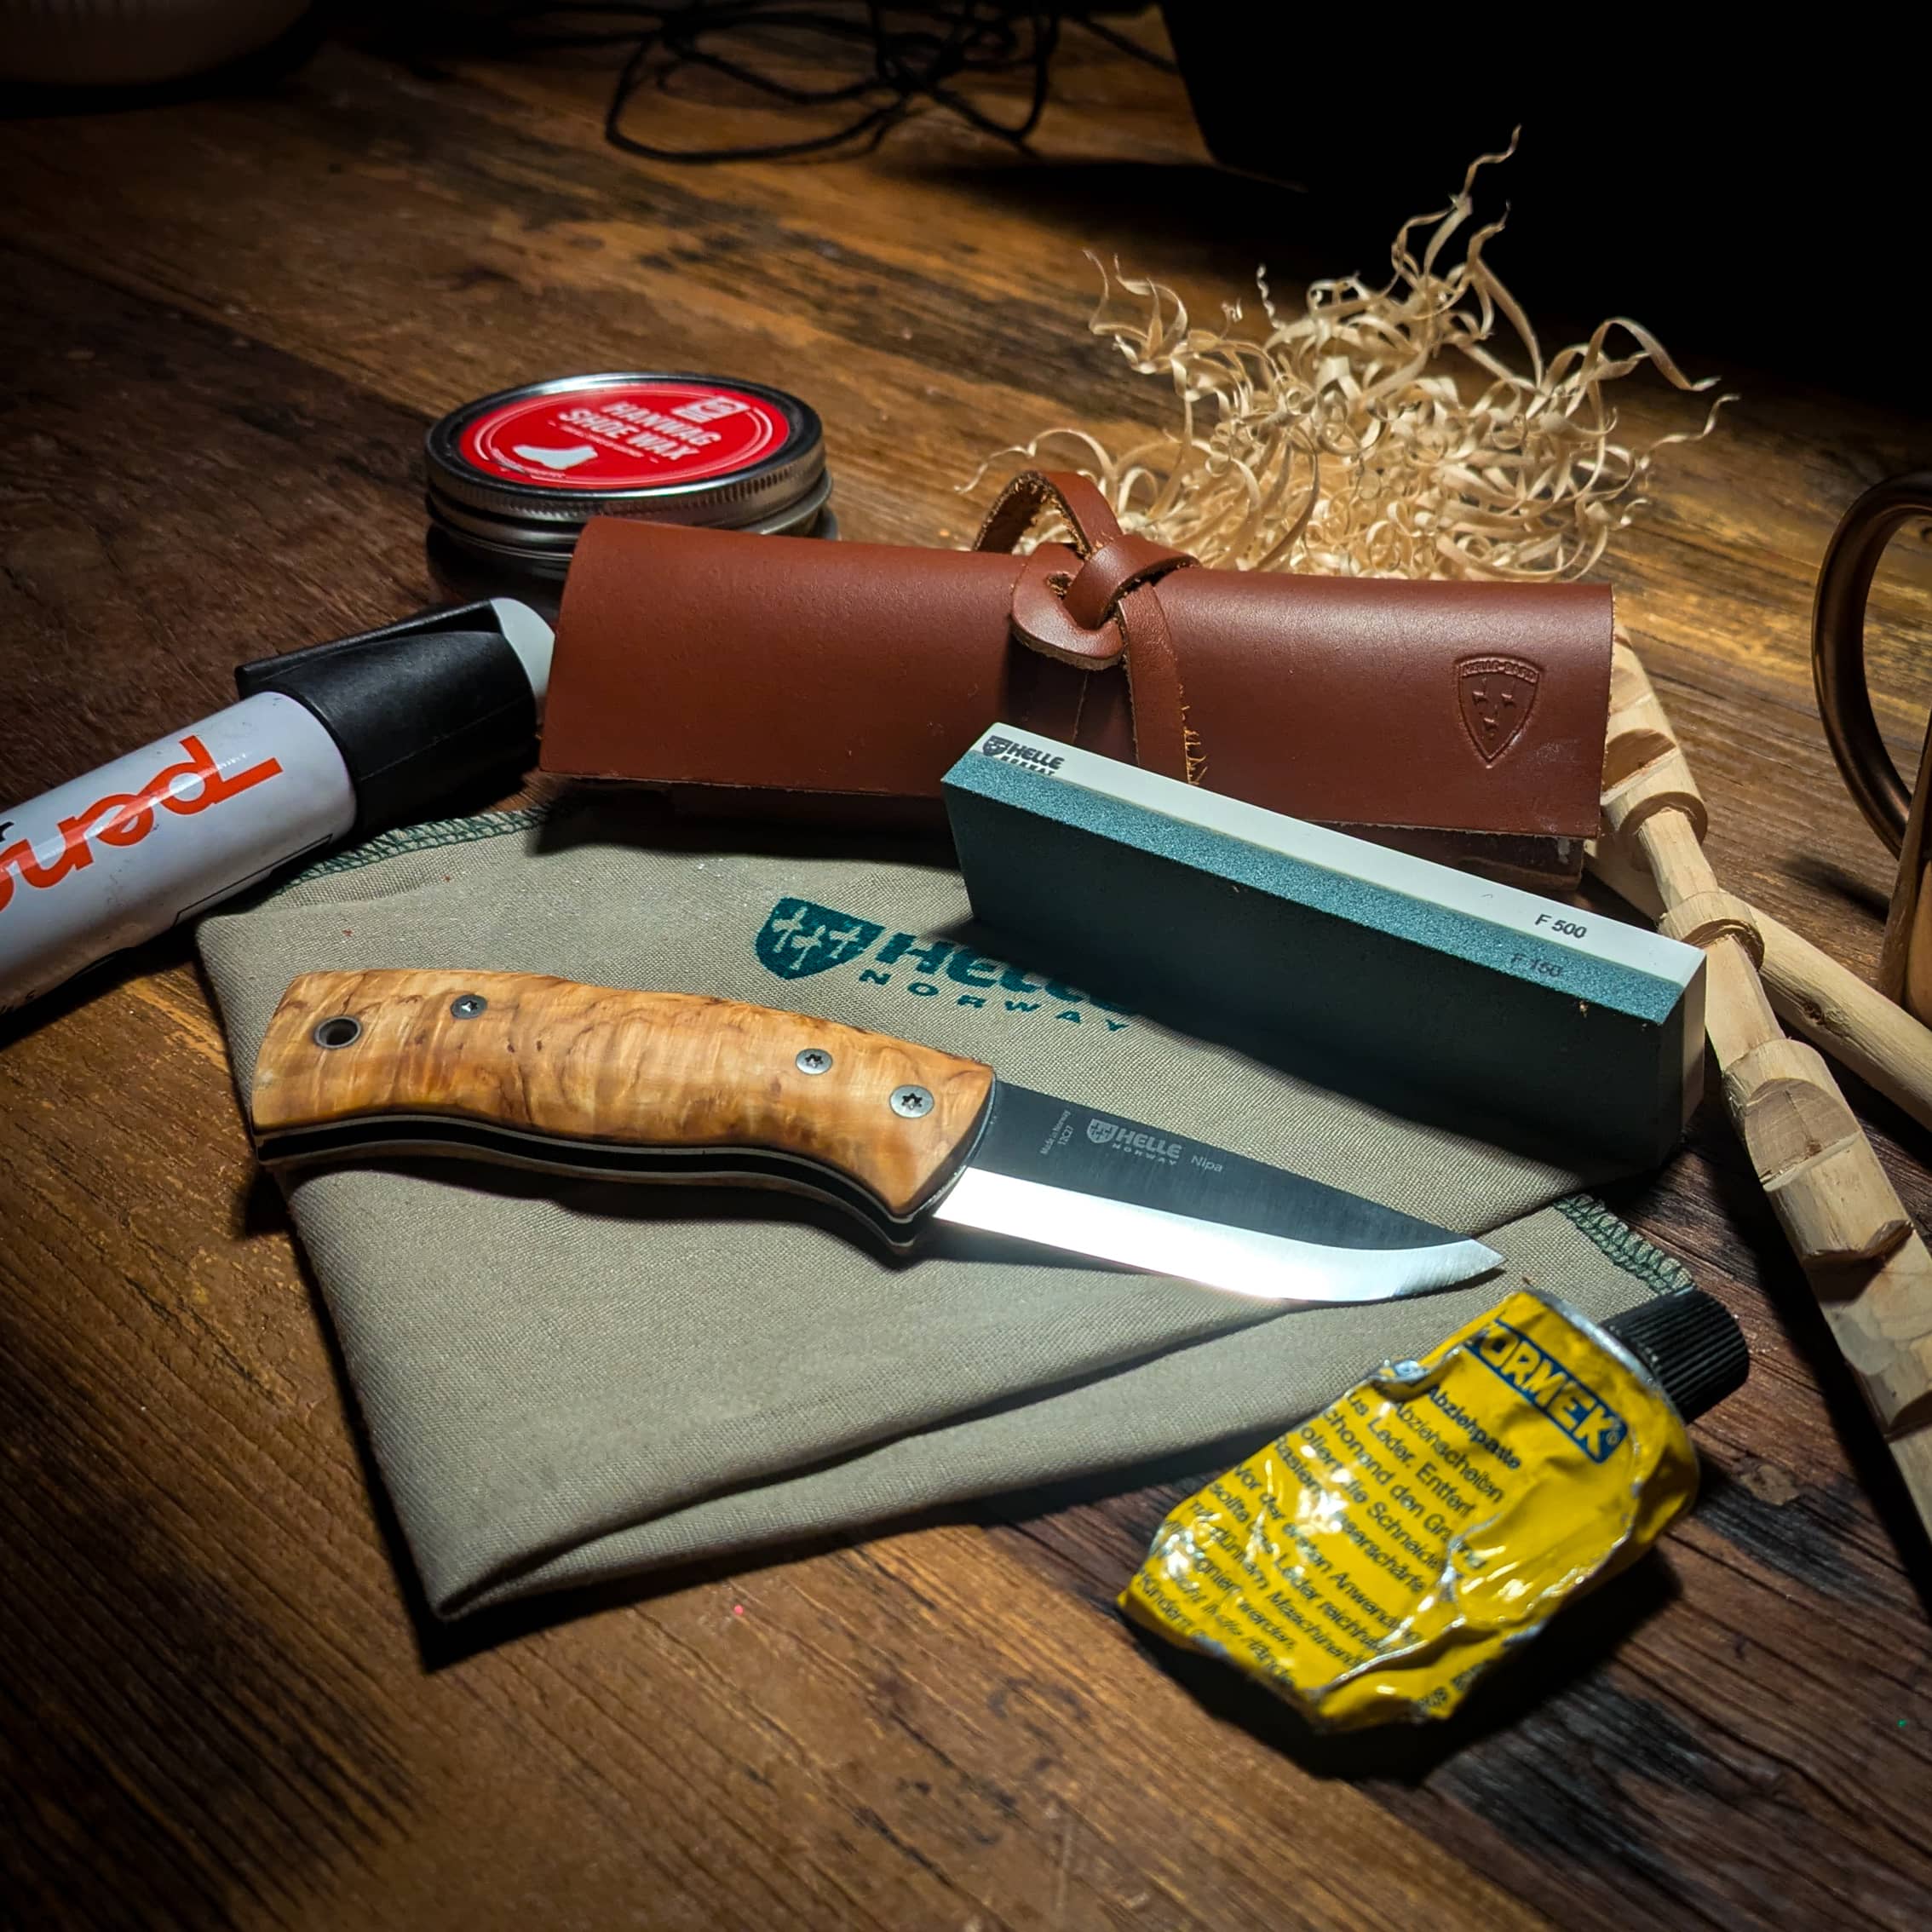
For my general maintenance, I like to use the following things: a small stone, a strop and polishing compound, a marker, food safe oil/wax and a rag.
I find that a frequent, quick strop keeps the knife keen for way longer. And you can even use the leather case from your Helle stone as such, but more on that later.
I put my knife to the stone, when it’s either dull, dinged, or the edge has rolled.
When using your stone for the first time you have a choice between using water or oil. As water is a more readily accessible resource, this is what I’ve chosen. Also worth noting, once you oil your stone, you can never go back to using water.
The process
When using water, fully submerse the stone in a vessel for a good five minutes, or until the bubbles stop. A quick dip or spit won’t cut it. Sharpening a knife on a dry stone eats away the stone at an alarming rate and gives you a suboptimal result.
While waiting for the stone to become fully saturated with water, I use the marker to paint my edge as shown on the picture. I do this as a visual aid to ensure that I sharpen the edge at a correct angle, with an adequate amount of pressure, and that I have left no part of the blade unsharpened.

Now the sharpening can begin. I like to use the stone on a table, or flat, secure surface.
Considerations on grit choice
The lower the number, the coarser the stone and the more material you will remove quicker. And vice versa the higher the number, the finer the stone.
If the knife is only dulled a little, you should choose the finer side to just re-establish the edge. If your blade needs a full re-sharpening, if its dinged or rolled, begin with the coarser side.
Place your blade onto the stone and index the bevel flat on the sharpening stone. Push down gently with intent and work the full length of the blade with each stroke. Whether you push, pull or both is a matter of religion. The most important thing is to keep the bevel level. Keep working on one side until you can feel a burr forming on the opposite side.
Remember to re-saturate the stone as you go, and to check the painted edge during this process to ensure the full edge is sharpened.
Once the burr has formed on the full length on one side, flip the blade over, and repeat the process on the opposite side. When a burr has been achieved on both sides, you have established an edge.
If you begin on the coarser side of the stone, repeat the whole process on the finer side afterwards to achieve the best results.
Stropping
When sharpening on a stone, you will always leave micro-serrations and other small imperfections along the cutting edge of your knife. This is where stropping comes in handy.
Stropping with a fine polishing compound (like Tormek or Autosol), does as advertised – it removes the micro serrations and imperfections by polishing the edge. Granting you that shaving sharp, mirror polish finish, that is guaranteed to split hairs.
The important thing to remember when stropping is to never push or pull the knife in the direction of the edge – this will result in the knife digging into the leather and cutting it.
Place your blade onto your strop and index the bevel flat on the leather. Push down gently with intent and work the full length of the blade with each stroke. I like to alternate sides on every go and after 5-10 strokes on each side, your blade should be shaving sharp.
Using the Helle leather case as a strop can be achieved by adding some compound to the inside of the lid and placing it on a flat, firm surface.

Granted this strop will only work with shorter blades, like the Helle Nipa. But it’s a handy way of making the Helle Sharpening Stone S even more versatile as a field maintenance kit.
General maintenance
After it’s all said and done, I wipe and clean my blade. I massage some food safe boot wax into the handle and call it a day. To be able to wax the entire handle, you’ll need to remove the pocket clip with a torx bit, size 6.
Thank you all for your time. The team at Helle and I wish you all the best.
Check out the sharpening stone in the Helle web shop
 |
Jesper Weidick - @WeidickOutside - is a passionate outdoors and wilderness skills instructor from Denmark. He loves sharing knowledge and inspiring people. Knives and the manipulation of wood has been a passion of his since childhood and he continues to be an avid woodcarver. |